Instance Segmentation model#
This tutorial reveals end-to-end solution from installation to model export and optimization for instance segmentation task on a specific example. On this page, we show how to train, validate, export and optimize Mask-RCNN model on a toy dataset.
To learn more about Instance Segmentation task, refer to Instance Segmentation.
Note
To learn deeper how to manage training process of the model including additional parameters and its modification, refer to Object Detection model.
To learn how to deploy the trained model, refer to: How to deploy the model and use demo in exportable code.
To learn how to run the demo and visualize results, refer to: How to run the demonstration mode with OpenVINO™ Training Extensions CLI.
The process has been tested on the following configuration.
Ubuntu 20.04
NVIDIA GeForce RTX 3090
Intel(R) Core(TM) i9-11900
CUDA Toolkit 11.4
Setup virtual environment#
1. You can follow the installation process from a quick start guide to create a universal virtual environment for OpenVINO™ Training Extensions.
2. Activate your virtual environment:
.otx/bin/activate
# or by this line, if you created an environment, using tox
. venv/otx/bin/activate
Dataset preparation#
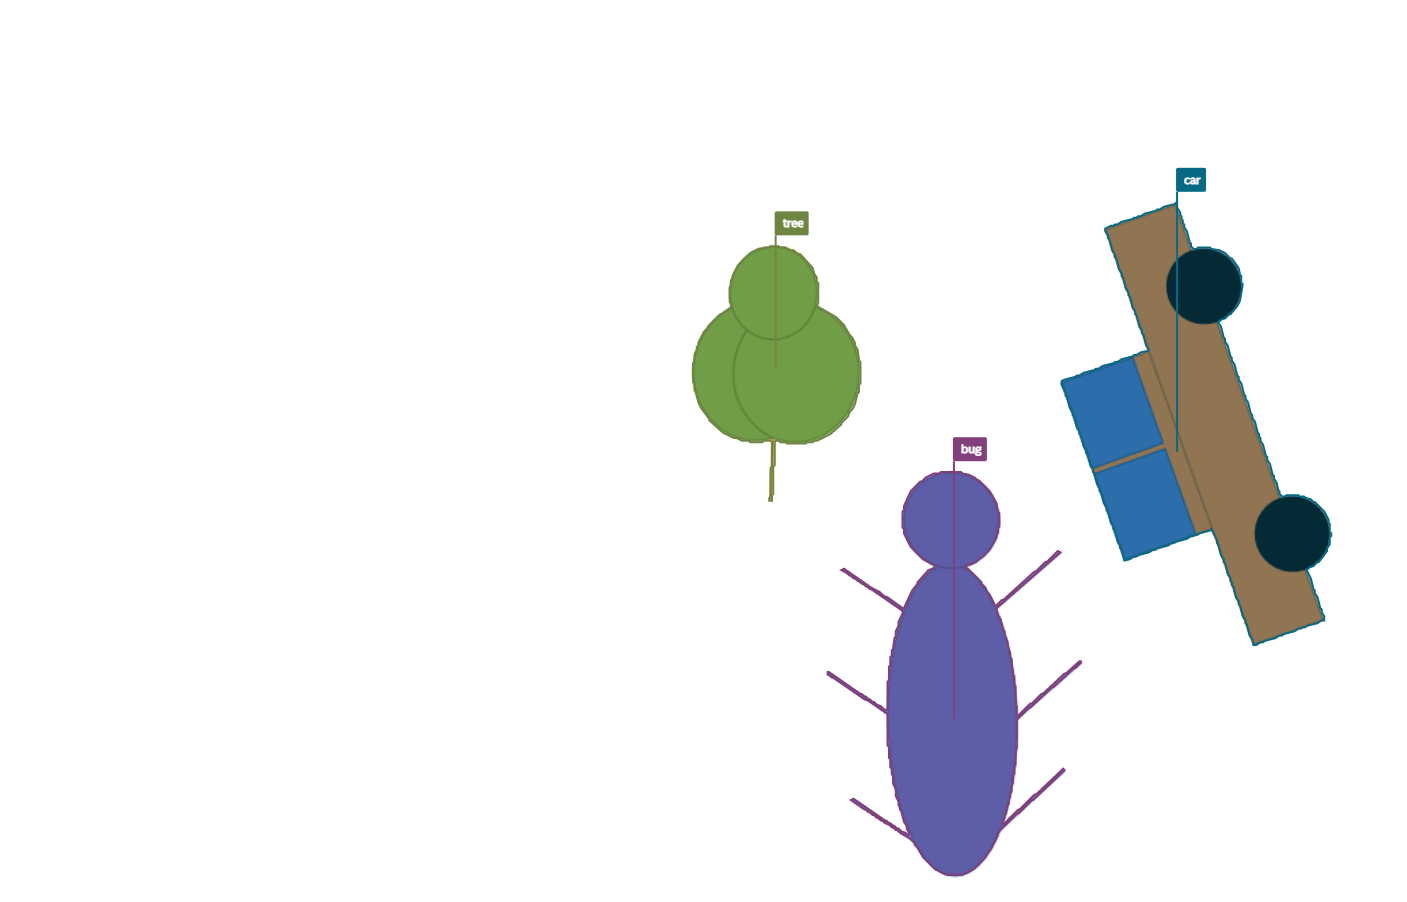
1. Let’s use the simple toy dataset Car, Tree, Bug dataset provided by OpenVINO™ Training Extensions.
This dataset contains images of simple car, tree, bug with the annotation for instance segmentation.
car- Car Shape Illustrationtree- Tree Shape Illustrationbug- Bug Shape Illustration
This allows us to look at the structure of the dataset used in instance segmentation, and can be a good starting point for how to start an instance segmentation task with OpenVINO™ Training Extensions.
2. Check the file structure of downloaded dataset, we will need the following file structure:
car_tree_bug
├── annotations/
  ├── instances_train.json
  └── instances_val.json
├──images/
  └── <images>
...
Warning
There may be features that don’t work properly with the current toy dataset. We recommend that you proceed with a proper training and validation dataset, the tutorial and dataset here are for reference only.
We will update this tutorial with larger public datasets soon.
Training#
1. First of all, you need to choose which instance segmentation model you want to train. The list of supported templates for instance segmentation is available with the command line below.
Note
The characteristics and detailed comparison of the models could be found in Explanation section.
To modify the architecture of supported models with various backbones, please refer to the advanced tutorial for backbone replacement.
(otx) ...$ otx find --template --task instance_segmentation

+-----------------------+----------------------------------------------------------------+--------------------------+-----------------------------------------------------------------------------------------------+
|          TASK         |                               ID                               |           NAME           |                                           BASE PATH                                           |
+-----------------------+----------------------------------------------------------------+--------------------------+-----------------------------------------------------------------------------------------------+
| INSTANCE_SEGMENTATION |    Custom_Counting_Instance_Segmentation_MaskRCNN_ResNet50     |    MaskRCNN-ResNet50     |     otx/algorithms/detection/configs/instance_segmentation/resnet50_maskrcnn/template.yaml    |
| INSTANCE_SEGMENTATION | Custom_Counting_Instance_Segmentation_MaskRCNN_EfficientNetB2B | MaskRCNN-EfficientNetB2B | otx/algorithms/detection/configs/instance_segmentation/efficientnetb2b_maskrcnn/template.yaml |
+-----------------------+----------------------------------------------------------------+--------------------------+-----------------------------------------------------------------------------------------------+
2. We need to create OpenVINO™ Training Extensions workspace first.
Let’s prepare an OpenVINO™ Training Extensions instance segmentation workspace running the following command:
(otx) ...$ otx build --task instance_segmentation --model MaskRCNN-ResNet50

[*] Workspace Path: otx-workspace-INSTANCE_SEGMENTATION
[*] Load Model Template ID: Custom_Counting_Instance_Segmentation_MaskRCNN_ResNet50
[*] Load Model Name: MaskRCNN-ResNet50
[*]     - Updated: otx-workspace-INSTANCE_SEGMENTATION/model.py
[*]     - Updated: otx-workspace-INSTANCE_SEGMENTATION/data_pipeline.py
[*]     - Updated: otx-workspace-INSTANCE_SEGMENTATION/tile_pipeline.py
[*]     - Updated: otx-workspace-INSTANCE_SEGMENTATION/deployment.py
[*]     - Updated: otx-workspace-INSTANCE_SEGMENTATION/hpo_config.yaml
[*]     - Updated: otx-workspace-INSTANCE_SEGMENTATION/compression_config.json
[*] Update data configuration file to: otx-workspace-INSTANCE_SEGMENTATION/data.yaml

(otx) ...$ cd ./otx-workspace-INSTANCE_SEGMENTATION
It will create otx-workspace-INSTANCE_SEGMENTATION with all necessary configs for MaskRCNN-ResNet50, prepared data.yaml to simplify CLI commands launch and splitted dataset.
Note
Using otx train with TEMPLATE allows you to run the training directly without otx build.
However, this requires --train-data-roots and --val-data-roots in the command.
(otx) ...$ otx train Custom_Counting_Instance_Segmentation_MaskRCNN_ResNet50 \
                  --train-data-roots data/car_tree_bug \
                  --val-data-roots data/car_tree_bug \
                  params --learning_parameters.num_iters 8
The command above also creates an otx-workspace-INSTANCE_SEGMENTATION, just like running build. This also updates data.yaml with data-specific commands.
For more information, see quick start guide or detection example.
Warning
Note, that we can’t run CLI commands for instance segmentation via model name, since the same models are utilized for different algorithm and the behavior can be unpredictable. Please, use the template path or template ID instead.
To simplify the command line functions calling, we may create a data.yaml file with annotations info and pass it as a --data parameter.
The content of the otx-workspace-INSTANCE_SEGMENTATION/data.yaml for dataset should have absolute paths and will be similar to that:
Note
When a workspace is created, data.yaml is always generated.
You can modify the required arguments in data.yaml or use the command to provide the required arguments.
{'data':
  {
  'train':
    {'data-roots': 'otx-workspace-INSTANCE_SEGMENTATION/splitted_dataset/car_tree_bug'},
  'val':
    {'data-roots': 'otx-workspace-INSTANCE_SEGMENTATION/splitted_dataset/car_tree_bug'},
  'test':
    {'data-roots': 'otx-workspace-INSTANCE_SEGMENTATION/splitted_dataset/car_tree_bug'}
  }
}
4. To start training we need to call otx train
command in our workspace:
(otx) .../otx-workspace-INSTANCE_SEGMENTATION$ otx train \
                                                  params --learning_parameters.num_iters 10
Warning
Since this is a very small dataset, we adjusted num_iters to avoid overfitting in this tutorial.
In other general datasets, OpenVINO™ Training Extensions ends training at the right time without adjusting num_iters.
The training results are weights.pth and label_schema.json files that located in otx-workspace-INSTANCE_SEGMENTATION/models folder, while training logs and tf_logs for Tensorboard visualization can be found in the otx-workspace-INSTANCE_SEGMENTATION dir.
weights.pth and label_schema.json, which are needed as input for the further commands: export, eval, optimize, etc.
...
2023-02-21 22:34:53,474 | INFO : Update LrUpdaterHook patience: 5 -> 2
2023-02-21 22:34:53,474 | INFO : Update CheckpointHook interval: 1 -> 5
2023-02-21 22:34:53,474 | INFO : Update EvalHook interval: 1 -> 5
2023-02-21 22:34:53,474 | INFO : Update EarlyStoppingHook patience: 10 -> 3
2023-02-21 22:34:54,320 | INFO : Epoch [1][2/2] lr: 3.400e-04, eta: 3:14:44, time: 1.180, data_time: 0.784, memory: 7322, current_iters: 1, loss_rpn_cls: 0.0720, loss_rpn_bbox: 0.0250, loss_cls: 2.6643, acc: 89.3066, loss_bbox: 0.3984, loss_mask: 3.5540, loss: 6.7136, grad_norm: 66.2921

...
2023-02-21 22:35:07,908 | INFO : Inference completed
2023-02-21 22:35:07,908 | INFO : called evaluate()
2023-02-21 22:35:07,909 | INFO : F-measure after evaluation: 0.33333333333333326
2023-02-21 22:35:07,909 | INFO : Evaluation completed
Performance(score: 0.33333333333333326, dashboard: (1 metric groups))
After that, we have the PyTorch instance segmentation model trained with OpenVINO™ Training Extensions, which we can use for evaluation, export, optimization and deployment.
Validation#
1. otx eval runs evaluation of a trained
model on a specific dataset.
The eval function receives test annotation information and model snapshot, trained in the previous step.
Please note, label_schema.json file contains meta information about the dataset and it should be located in the same folder as the model snapshot.
otx eval will output a F-measure for instance segmentation.
2. The command below will run validation on our dataset
and save performance results in performance.json file:
(otx) ...$ otx eval --test-data-roots otx-workspace-INSTANCE_SEGMENTATION/splitted_dataset/car_tree_bug \
                    --load-weights models/weights.pth \
                    --save-performance performance.json
We will get a similar to this validation output:
...

2023-02-21 22:37:10,263 | INFO : Inference completed
2023-02-21 22:37:10,263 | INFO : called evaluate()
2023-02-21 22:37:10,265 | INFO : F-measure after evaluation: 0.33333333333333326
2023-02-21 22:37:10,265 | INFO : Evaluation completed
Performance(score: 0.33333333333333326, dashboard: (1 metric groups))
Note
You can omit --test-data-roots if you are currently inside a workspace and have test-data stuff written in data.yaml.
Also, if you’re inside a workspace and weights.pth exists in models dir, you can omit --load-weights as well, assuming those weights are the default as models/weights.pth.
If you omit --save-performance, it will create a performance.json in the folder for those weights.
The output of ./outputs/performance.json consists of a dict with target metric name and its value.
{"f-measure": 0.33333333333333326}
Export#
1. otx export exports a trained Pytorch .pth model to the
OpenVINO™ Intermediate Representation (IR) format.
It allows running the model on the Intel hardware much more efficient, especially on the CPU. Also, the resulting IR model is required to run POT optimization. IR model consists of 2 files: openvino.xml for weights and openvino.bin for architecture.
2. We can run the below command line to export the trained model
and save the exported model to the openvino_model folder.
(otx) ...$ otx export --load-weights models/weights.pth \
                      --save-model-to openvino_model

...
[ SUCCESS ] Generated IR version 11 model.
[ SUCCESS ] XML file: /tmp/OTX-task-51omlxb0/stage00_DetectionExporter-train/model.xml
[ SUCCESS ] BIN file: /tmp/OTX-task-51omlxb0/stage00_DetectionExporter-train/model.bin

2023-02-21 22:38:21,893 - mmdeploy - INFO - Successfully exported OpenVINO model: /tmp/OTX-task-51omlxb0/stage00_DetectionExporter-train/model_ready.xml
2023-02-21 22:38:21,894 | INFO : run task done.
2023-02-21 22:38:21,940 | INFO : Exporting completed
3. We can check the accuracy of the IR model and the consistency between the exported model and the PyTorch model.
You can use otx train directly without otx build. It will be required to add --train-data-roots and --val-data-roots in the command line:
(otx) ...$ otx eval --test-data-roots otx-workspace-INSTANCE_SEGMENTATION/splitted_dataset/car_tree_bug \
                    --load-weights openvino_model/openvino.xml \
                    --save-performance openvino_model/performance.json

...

2023-02-21 22:39:13,423 | INFO : Loading OpenVINO OTXDetectionTask
2023-02-21 22:39:17,014 | INFO : OpenVINO task initialization completed
2023-02-21 22:39:17,015 | INFO : Start OpenVINO inference
2023-02-21 22:39:18,309 | INFO : OpenVINO inference completed
2023-02-21 22:39:18,309 | INFO : Start OpenVINO metric evaluation
2023-02-21 22:39:18,310 | INFO : OpenVINO metric evaluation completed
Performance(score: 0.33333333333333326, dashboard: (1 metric groups))
Optimization#
1. We can further optimize the model with otx optimize.
It uses NNCF or POT depending on the model format.
Please, refer to optimization explanation section to get the intuition of what we use under the hood for optimization purposes.
2. Command example for optimizing a PyTorch model (.pth) with OpenVINO™ NNCF.
(otx) ...$ otx optimize --load-weights models/weights.pth --save-model-to nncf_model

...

2023-02-21 22:45:35,996 | INFO : run task done.
2023-02-21 22:45:36,012 | INFO : Inference completed
2023-02-21 22:45:36,013 | INFO : called evaluate()
2023-02-21 22:45:36,014 | INFO : F-measure after evaluation: 0.33333333333333326
2023-02-21 22:45:36,014 | INFO : Evaluation completed
Performance(score: 0.33333333333333326, dashboard: (1 metric groups))
The optimization time relies on the hardware characteristics, for example on 1 GeForce 3090 and Intel(R) Core(TM) i9-11900 it took about 1 minutes.
3. Command example for optimizing OpenVINO™ model (.xml) with OpenVINO™ POT.
(otx) ...$ otx optimize --load-weights openvino_model/openvino.xml \
                        --save-model-to pot_model

...

Performance(score: 0.33333333333333326, dashboard: (3 metric groups))
Please note, that POT will take some time (generally less than NNCF optimization) without logging to optimize the model.
4. Now we have fully trained, optimized and exported an efficient model representation ready-to-use instance segmentation model.
The following tutorials provide further steps on how to deploy and use your model in the demonstration mode and visualize results.