XAI Tutorial#
This guide explains the model behavior, which is trained through previous stage. It allows displaying the saliency maps, which provide the locality where the model gave an attention to predict a specific category.
To be specific, this tutorial uses as an example of the ATSS model trained through otx train and saved as otx-workspace/.latest/train/checkpoints/epoch_*.pth.
Note
This tutorial uses an object detection model for example, however for other tasks the functionality remains the same - you just need to replace the input dataset with your own.
For visualization we use images from WGISD dataset from the object detection tutorial together with trained model.
1. Activate the virtual environment created in the previous step.
.otx/bin/activate
# or by this line, if you created an environment, using tox
. venv/otx/bin/activate
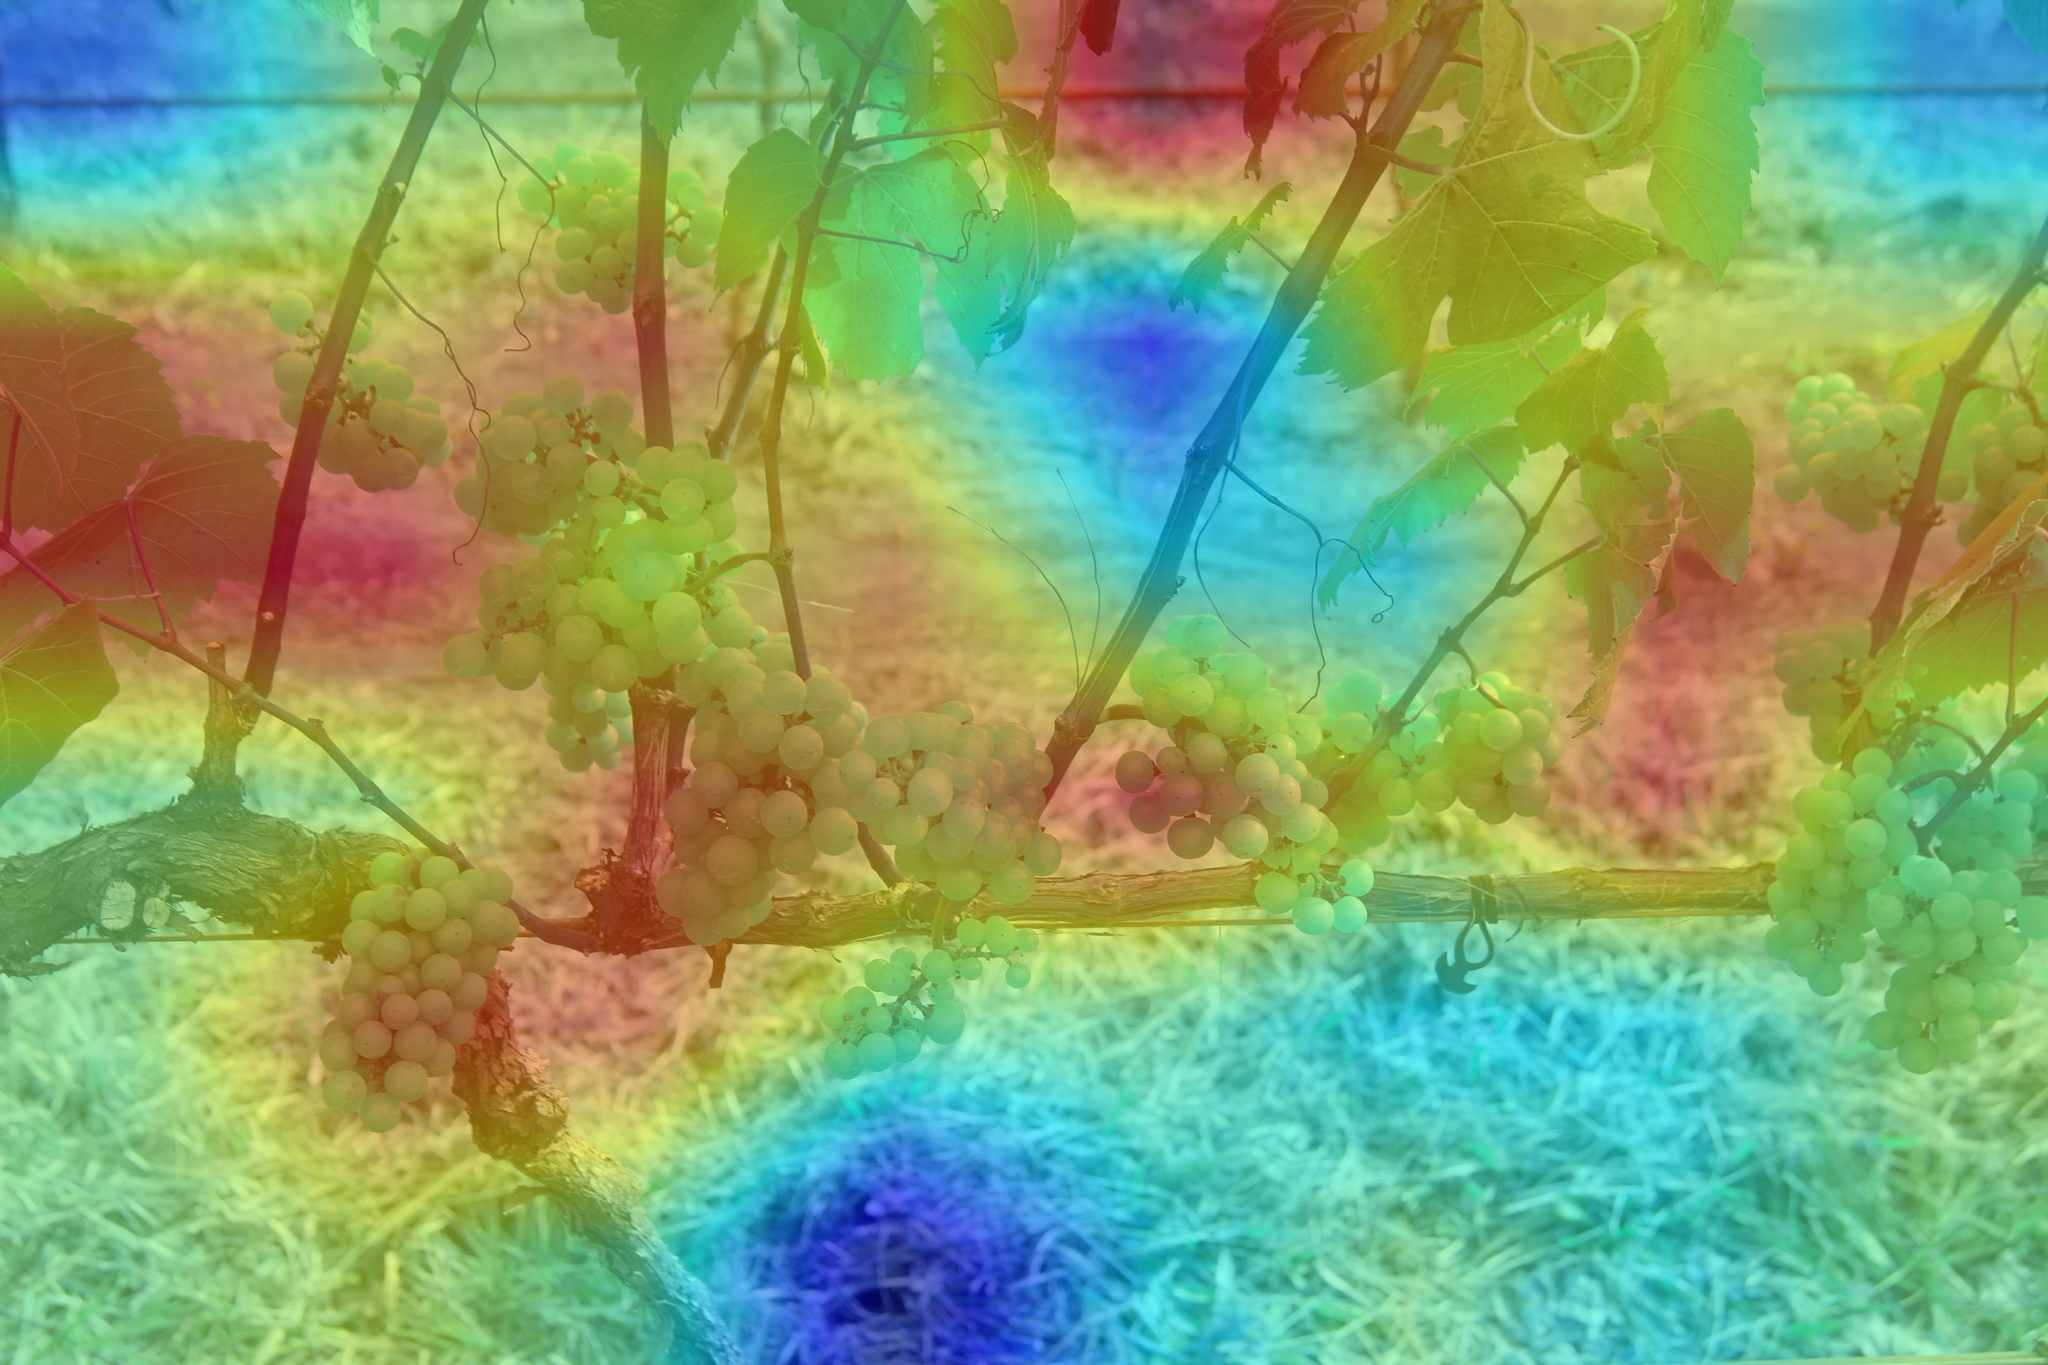
2. otx explain command returns saliency maps,
which are heatmaps with red-colored areas indicating focus. Here’s an example how to generate saliency maps from trained checkpoint:
(otx) ...$ otx explain --work_dir otx-workspace \
                       --explain_config.postprocess True # Resizes and applies colormap to the saliency map
(otx) ...$ otx explain --config  src/otx/recipe/detection/atss_mobilenetv2.yaml \
                       --data_root data/wgisd \
                       --checkpoint otx-workspace/20240312_051135/checkpoints/epoch_033.ckpt \
                       --explain_config.postprocess True # Resizes and applies colormap to the saliency map
engine.explain(
    checkpoint="<checkpoint-path>",
    datamodule=OTXDataModule(...), # The data module to use for predictions
    explain_config=ExplainConfig(postprocess=True), # Resizes and applies colormap to the saliency map
    dump=True # Wherether to save saliency map images or not
  )
3. The generated saliency maps will appear in otx-workspace/.latest/explain/saliency_maps folder.
It will contain a pair of generated images with saliency maps for each image used for the explanation process:
saliency map - where red color means more attention of the model
overlay - where the saliency map is combined with the original image:
4. To explain the exported IR model, it should be converted with additional outputs saliency_map and feature_map.
To do that we should use --explain True parameter during export.
(otx) ...$ otx export ... --explain True
(otx) ...$ otx explain ... --checkpoint otx-workspace/20240312_052847/exported_model.xml
engine.export(..., explain=True)
engine.explain(..., checkpoint="<xml_weights_path>")
5. We can parametrize the explanation process by specifying
the following parameters in ExplainConfig:
target_explain_group- for which target saliency maps will be generated:IMAGE- a single global activation map regardless of the classes that the model can detect.ALL- saliency map for each class that the model can detect.PREDICTIONS- saliency map for each predicted class.
postprocess:Falsedefault - no postprocessing, low-resolution grayscale maps are returned.True- resizes and applies colormap to the saliency map.
(otx) ...$ otx explain ... --explain_config.postprocess True
                           --explain_config.target_explain_group PREDICTIONS
engine.explain(...,
               explain_config=ExplainConfig(
                 postprocess=True,
                 target_explain_group=TargetExplainGroup.PREDICTIONS
               )
  )
6. The explanation algorithm is chosen automatically based on the used model:
Recipro-CAM- for CNN classification modelsViT Recipro-CAM- for transformer-based classification modelsDetClassProbabilityMap- for single-stage detector modelsInstSegExplainAlgo- for MaskRCNN and RTMDetInst instance segmentation models
Note
Learn more about Explainable AI and its algorithms in XAI explanation section